
WordPress is not just an open-source platform, but it also offers a vast ecosystem of WordPress products. A plethora of plugins, themes, templates, and layouts are available as WordPress products.
If you are about to launch your very own WordPress product, read this article for a step-by-step tutorial.
What Really is a WordPress Product?
On WordPress, you can publish and create products that help in improving the WordPress experience for its users.
You are free to build your own theme and develop any WordPress plugin or your custom page layout for WordPress. Currently, there are thousands of such WordPress products available for you all.
After launching the product, you can sell it on different marketplaces such as CodeCanyons, WordPress.org, and Theme Forest, Or you can also publish it on your own WordPress website.
Before building any WordPress Product, you should first know whether this will benefit you or not. So, here are some benefits of creating it:
Benefits of Adding a WordPress Product
- If you are creating a WordPress site of yours that is tailored according to your brand and the pre-made themes, don’t go with your site design. You can easily create a custom theme or plugin that is customized especially for your brand.
- If you end up developing a popular WordPress plugin or a theme, this will help you earn a handsome amount by selling it on the marketplaces we discussed before—a terrific way to earn money for your company.
- Around 10 million websites use WordPress plugins, which is a pretty huge number. These plugins are available on the WordPress.org plugin repository by WordPress. You can also upload your product here with its basic version. Doing this will help you in recognition and marketing.
How to Plan the Launch of a WordPress Product
These are the things to do before launching a WordPress site or product:
1. Select Your Potential Product
When it comes to launching your WordPress product, you should first decide what you are really going to publish. There are different kinds of WordPress products, such as WordPress Page layouts, WordPress Themes, and WordPress Plugins. So, choose what you think you can pull off easily.
Evaluate where your strengths lie as a developer and which product is going to be convenient for you to work on.
So, answering these questions will guide you in the right direction.
2. Do Market Research
The next step in launching your WordPress product is to do its market research keenly.
- First comes first; get some information about your customers and their buying behaviors, i.e. what triggers them to buy.
- Then, you should research the potential of your product and whether the product is actually needed. Will it provide functions that WordPress users really need? Or how this product is going to solve any of their issues?
- Next, study your competitors in the market. Research what you are going to develop is already in the market. How can you make it different? What additional functionalities will it have?
- Next, research whether you should go with the free version of your product or you are going to charge.
3. Study Your Target Audience
For a successful launch of your WordPress product, it is important to deeply understand and study your target audience.

You can study your target audience using surveys and interviews, but the best way to find and analyze your audience is by using online analytical tools such as Google Trends, Keyword Planner, and Google Analytics if you already have a website regarding WordPress topics. There are free tools that will provide valuable insights about your website and your customers.
How to Launch a WordPress Product
Here is the step-by-step guide to successfully launch your WordPress product. We will discuss the WordPress plugin as an example.
Step 1 – Set Up Your Development Environment
Before you start creating your plugin, you need to set up a local WordPress on your system. You won’t be doing all the coding on the live WordPress site. The local WordPress will help you to do all sorts of experiments with it before going live.
There are multiple tools that allow you to install a local environment on your computer:
- XAMPP (PHP development environment)
- MAMP (Classic Local server environment)
- Local by Flywheel (WordPress Development tool)
These tools will help you run WordPress easily on your system so that you can develop the plugin conveniently and also test it here.
Besides these development tools, you also need a code editor where you can write and edit the codes. Again, there are many options out there, from NotePad and Visual Studio Code to Brackets.
Also, if you want to track changes to your plugin, add a version control system like Git.
Step 2 – Create Your Plugin File
Once your staging environment is ready, the next step is to use it to create the plugin.
Let’s start by creating a new folder for your plugin.
- To do that, go to the wp-content/plugins in your local environment and create a new folder here.
- Give any name to this folder, something like “My First Plugin”.
- In this folder, create a PHP file with the same name. This is going to be your main file.
The next step here is to add the “Plugin Header” with the help of a text editor.
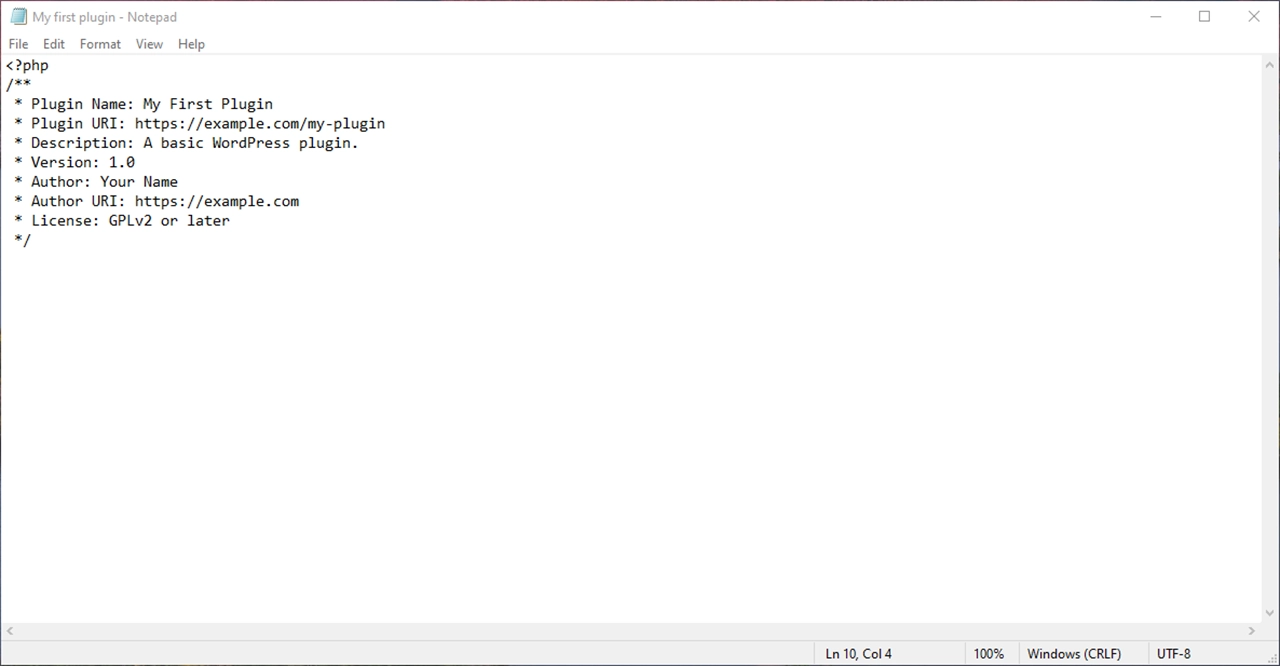
Open any text editor and add the following header comment to your plugin file, which basically explains what your plugin is about and who created it for WordPress.
Step 3 – Add Codes to the Plugin
To add codes, you should know about the hooks. Generally, all the plugins use hooks to interact with WordPress. They are the pieces of code that can modify the CMS and add new functionality to it.
Hooks are two different kinds: Action and Filter hooks.
Action Hooks
They can add or change the functionality at specific parts of WordPress. They act like command centers and make up most hooks used.
Filter Hooks
Filter hooks allow you to modify the existing content instead of adding anything new to WordPress.
Hooks allows you to freely interact with WordPress, helping add or modify the content wherever you want it without modifying the core files of WordPress. To code your plugin, you need to understand how these hooks work and become more familiar with them.
These are the major basic steps you need to know when creating a WordPress plugin. These serve as a foundation to explore more complex functions you might want to add to your plugins.
Step 4 – Test Your Plugin
While working on the coding part of your plugin, it is important to save your changes and test them regularly on your staging environment.
Test, whatever hooks you are adding, are they working exactly where you want them to? Solve any error you might have.
Once you are satisfied with the changes, try your plugin on your live site. Before going live, make sure to back up your live site. So that if anything goes wrong, you can always revive it.
- If you are happy with the results on the live site, you can also send your plugin to other developers to test it and get their feedback.
- Other than this, use tools such as Vagrant or Docker to check whether your plugin works correctly or not.
- Next, you should test your plugin on all the major web browsers (Chrome, Safari, Firefox, etc) and check its responsiveness on all devices.
- Test your WordPress plugin with both the old and latest versions to make sure it is compatible with both of them.
- Also, test your plugin with other commonly used plugins and themes such as Elementor, Divi, WPForms, Astra, etc.
Step 5 – Publish Your Plugin
Once everything is fine, your plugin is ready to launch. The last step is to publish this newly developed plugin on the WordPress.org repository.
Before publishing, you need to do a few more things:
- Create a readme file of your plugin, which includes what your plugin does and how to use and install it. The descriptions, FAQs, short tutorials, screenshots, etc.
- If you want to install your plugin on WordPress, it requires a zip file format. So, compress your plugin folder and all the content into the zip file.
- The next step is to submit your plugin to the Repository. Sign up for an account on WordPress.org, and then it will be submitted for review.
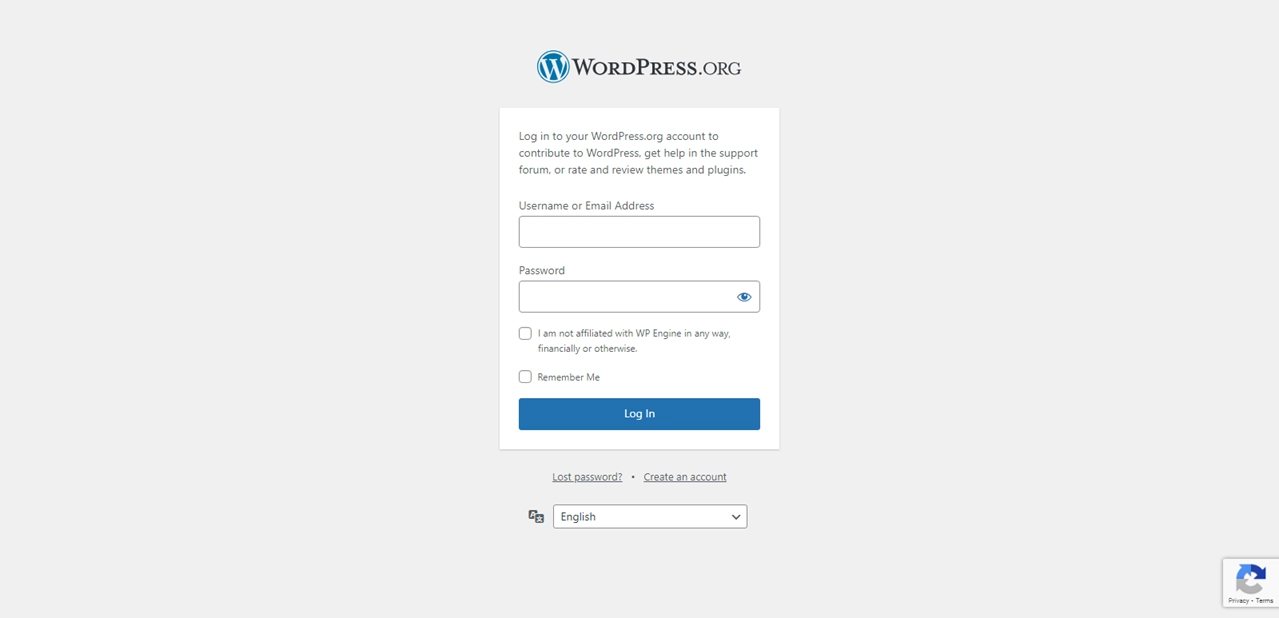
- Upload your zip file, which will be reviewed by the team. Once the review is done, they will email you if it is approved. On approval, you will be given access to the Subversion Repository to store your upload and its README file.
- Shortly after the upload, your WordPress plugin will be displayed and made available to all users.
- You should also set up documentation of the plugin. With proper documentation and clear step-by-step instructions on how to use the plugin, you can provide your users with the best customer support. If you cannot do it on your own, hire a professional documentation expert to do it for you.
- Stay aware of the updates WordPress releases, and ensure your plugin aligns with each update.
FAQs – Frequently Asked Questions
How Do You Create a Custom Theme for WordPress?
Here are the major steps to create your own WordPress themes:
- Create a local environment on your system.
- Download and install any starter theme.
- Study all the components of WordPress themes.
- Configure your custom theme.
- Export this theme and upload it on your website.
Is It Free to Publish on WordPress?
WordPress is an open-source platform that costs you nothing to use and publish on it.
How Do I Create a WordPress Plugin Page?
Follow the steps we already discussed in the article above to create a product on WordPress.
Conclusion
WordPress products are available to make your WordPress experience more seamless. Launching your own WordPress product allows you to make something that is specifically tailored to your needs. It also helps you contribute to the WordPress community if you launch it free of charge.
Moreover, creating a WordPress product will also help you earn credibility as a developer.
If you need a guide on how to launch your WordPress product, this article will guide you through all the basic steps you require to launch it.
Follow the steps carefully and create your WordPress product today.


0 Comments