
Images or galleries on a website are crucial for attracting users. And not just attraction, but images also motivate them to take a specific action. However, adding images only to the site won’t bring potential traction even if you use quality and elegant images. With interesting images, what is also important is how you present them. If you’re using Divi, then there’s the gallery module that can help you place images altogether. But, still, it cannot provide the look and feel that can really leave an impact. Therefore, users try different layouts and the one that’s famous amongst them all is Divi Masonry Gallery.
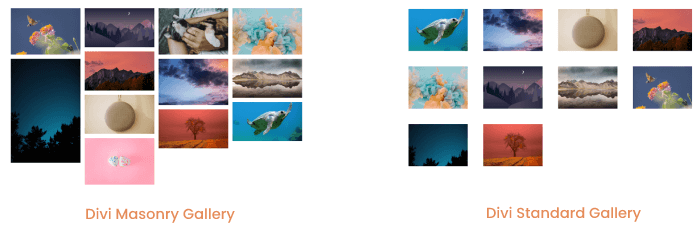
The Divi masonry image gallery layout arranges images in a way that covers the right amount of space around the page as well as among each picture and also makes it look like a modern web design trend. You could see in the below screenshot how good image galleries in masonry format look instead of the standard one.
And if you’re looking to create Divi Masonry Galleries on your site and till now, won’t be able to find the ultimate solution. Then, in this tutorial, you’re going to. We’ll see how easy it’s to add images in a masonry format on the Divi website. Plus, what extra tweaks you can apply to make the Divi photo gallery out-of-the-box. To create our masonry gallery in Divi, we’re going to use the Divi Gallery Extended plugin, which is a premium plugin with lots of different features that allows you to create Divi masonry galleries fast as well as easy.
Let’s see what it takes to create our masonry image gallery in Divi.
Step 1: Get Divi Gallery Extended Plugin
To add masonry galleries in Divi, you need to get the Divi Gallery Extended plugin. The Divi Gallery Extended plugin is a feature-rich Divi plugin that adds quite useful features to Divi visual builder. The plugin not only makes you add masonry image galleries to the site but also allows you to customize them further.
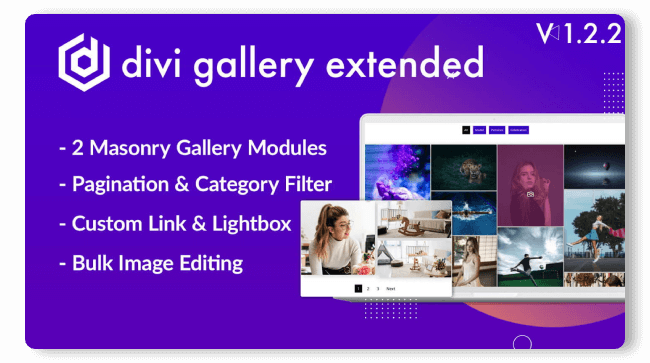
It includes two modules: Masonry Gallery and Dynamic Masonry Gallery. One allows you to add images to the gallery manually, and the other enables you to add images in one go automatically. We’ll check out these modules later in this article, but first, let’s look at these plugins’ top features.
- Lightbox for images.
- Up to 15 columns support.
- Control for column spacing.
- Column control for multiple devices.
- Category filter.
- Gallery pagination support.
- Image bulk editing option in the media library.
- Showcase image title and caption in the Lightbox.
- Add slider arrows, overlay color, close icon and much more.
After you get the plugin and download it, follow this guide to successfully install it on your website. Once installed, follow the next step to create categories for masonry galleries in Divi.
Step 2: Create Image Galleries
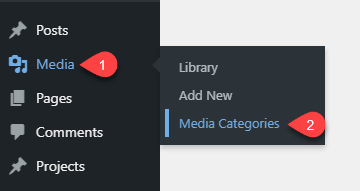
Before you start creating a Divi masonry gallery on your site, it is best to assign categories to all the images. Or selected ones that you’ll use in the gallery. To assign categories after installing and activating the Divi Gallery Extended plugin, you need to go to the Media → Media Categories.
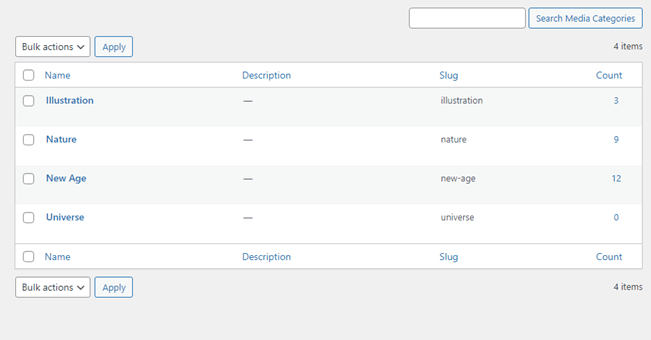
This will open a window that would allow you to create categories for images. First, input the gallery category name in the Name input field. Then, provide a custom Slug if you want to. Otherwise, WordPress will create the same category name. After that, if you prefer inserting detail about the category, you can add that in the Description field.
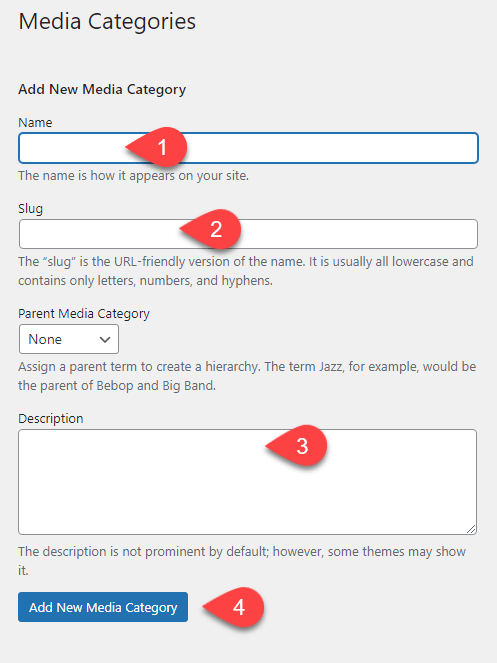
Once added all the details of your image category, click Add New Attachment Category. As soon as you add the new category, it will appear in the right side category list.
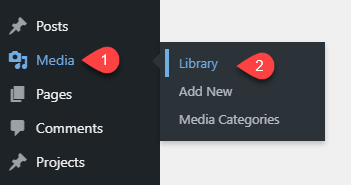
You’ve created the image category, now how to assign them to your images. On your WordPress dashboard, go to Media → Library.
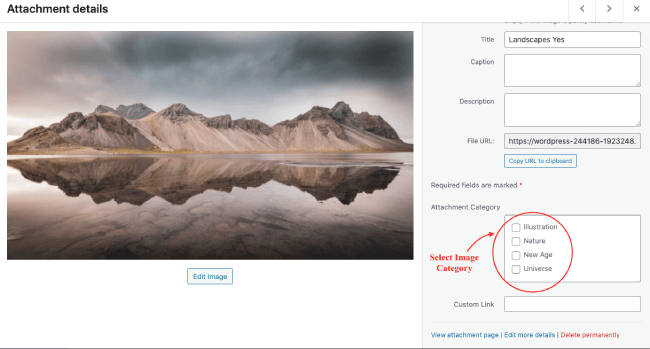
You’ll see all your images here. Now, select a particular image to which you want to assign the category. It will open complete details of the image. Scroll to the Attachment Category and choose the categories you want to assign to that image.
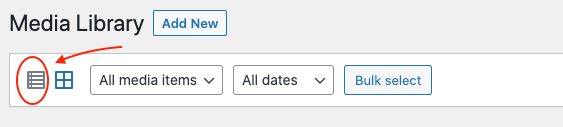
In this way, your selected image will be assigned to a particular category. However, this approach is good for a single image. But if you need to assign a category to multiple images at once, it would tire you. Therefore, to make it easy, the Divi Gallery Extended plugin enables you to edit bulk images. Using that feature can easily assign categories to multiple images. First, go to the view option in the media library and select the list view.
Then select the images you want to assign a category.
After that, go to the Bulk actions → Edit → click Apply. This will open a new window, where you can easily assign a category(s) to multiple images of the WordPress media library. Once selected the images, click Update. And that’s it; you’ve assigned categories to multiple images together.
Step 3: Add Masonry Gallery / Dynamic Gallery Module to the Page
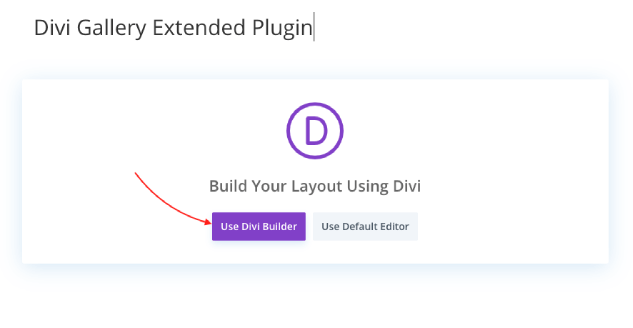
Now, as if you have assigned categories to the images, it’s time to create your beautiful Divi masonry gallery. Create a new page or edit an existing one where you want to add a masonry gallery. Then, choose to build with the Divi Builder by clicking Use Divi Builder.
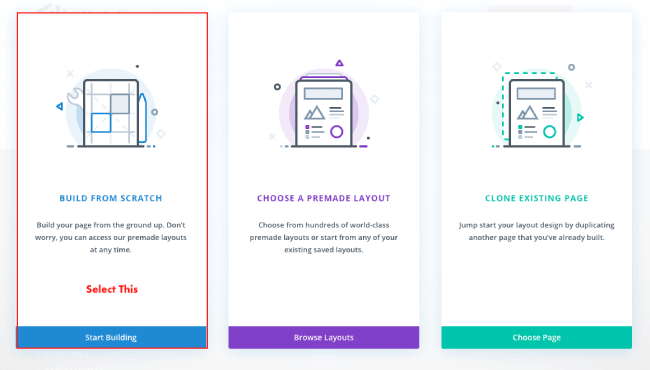
Then, further in the next window, choose BUILD FROM SCRATCH.
After selecting the Build From Scratch option, insert a new row once the Divi builder canvas deploys. And to add the Divi masonry gallery, you could either insert the Masonry Gallery module or Dynamic Masonry Gallery.
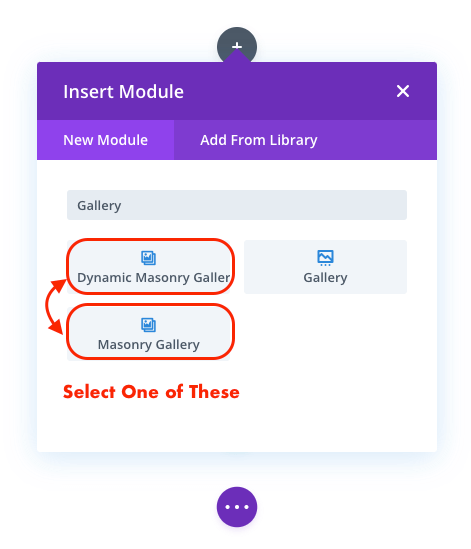
Both modules provide you with all the features. But the only difference is that one allows selecting images manually and another dynamically or automatically. For this tutorial, I’ve used the Dynamic Masonry Gallery module. Once it gets inserted on the page, it opens the Content tab with multiple options.
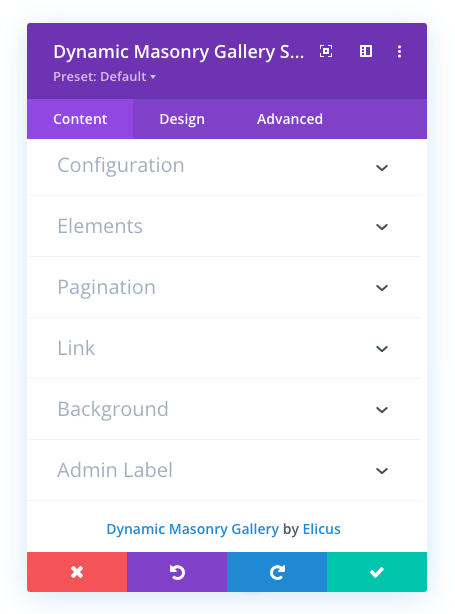
In the next step, we’ll check out all its additional Content options: Configuration, Elements, and Pagination.
Step 4: Content Customizations in the Divi Gallery Extended Plugin
When you insert the Dynamic Masonry Gallery module on the page, it by default include all the images. However, the Content tab’s Configuration settings can help you add only the selected ones. Let’s see what the options available in the Configuration settings are.
Applying Configuration Settings Options
The very first option you get in the Configuration settings is the Number of Images you want to display.
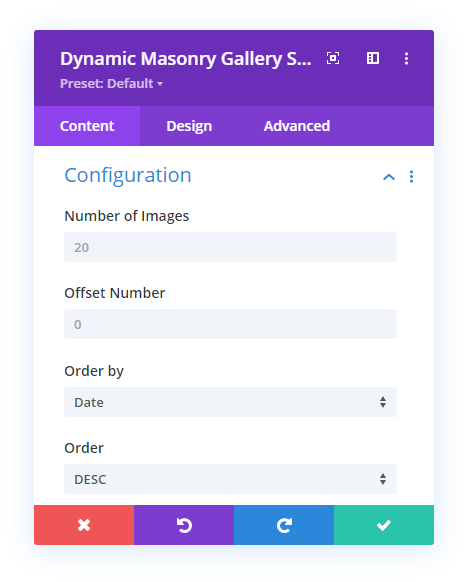
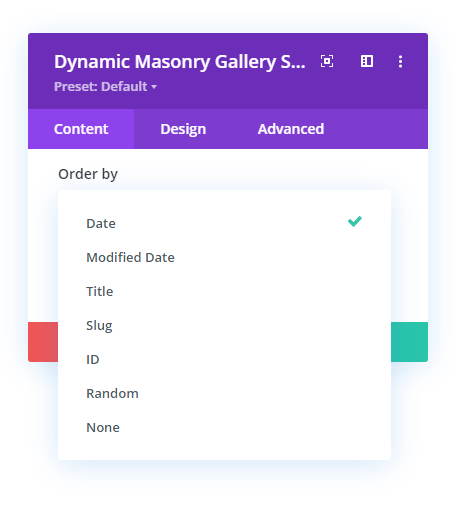
Further, it allows you to exclude the particular number of images using the Offset Number option. Then comes the Order by option, enabling you to sort images on different criteria such as Date, Modified Date, Title, Slug, ID, Random, and None.
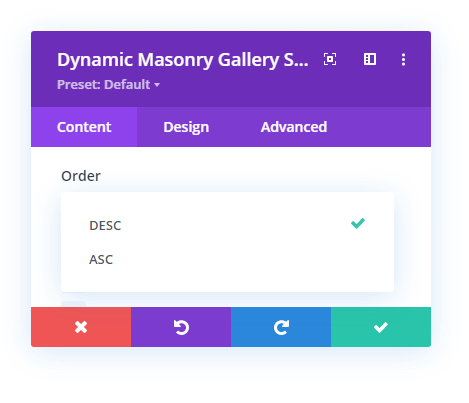
After that, you can further sort Divi masonry gallery images in Ascending and Descending order using the Order menu.
Passing the Order option, you come across the Select Categories feature that doesn’t have any category selected. And when there’s no category selected, the Divi Gallery Extended plugin created a masonry gallery with images from all categories.
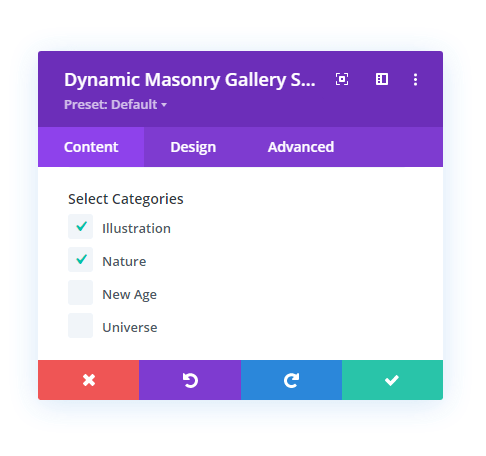
According to your requirement, you can select either a single category or multiple. After choosing your gallery images’ category, you get the option to adjust the gallery column number with the Number of Columns option. Furthermore, by clicking the device button, you can also define the number of columns specifically for different devices.
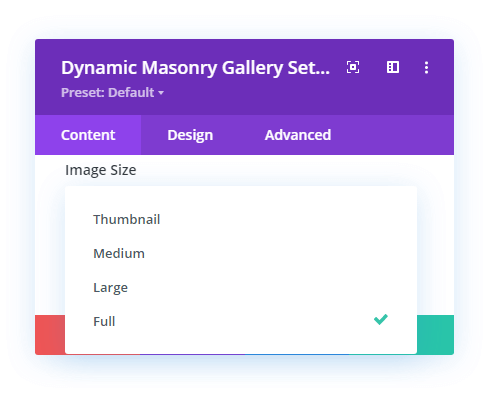
And using the Column Spacing option, you can easily increase or decrease the gap between gallery images. Then Image Size option provides you with the choices to select what size the gallery image should display in. Thumbnail, Medium, Large and Full.
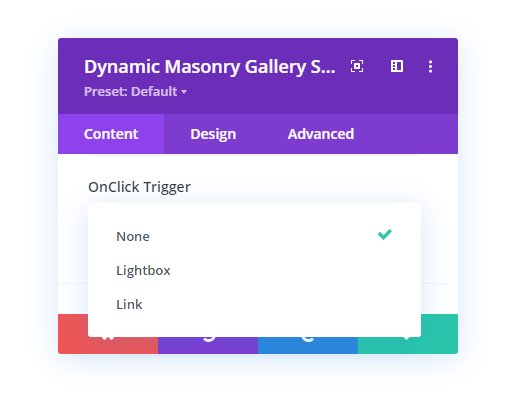
And the last option available in the Configuration settings is OnClick Trigger. It’s one of the essential features of the Divi Gallery Extended plugin that enhances Divi masonry galleries functionality. It allows you to set the image click function that is Lightbox and Link. What function the gallery perform when the user clicks on it, whether open the target URL or show images in a Lightbox.
Applying Elements to the Divi Masonry Gallery
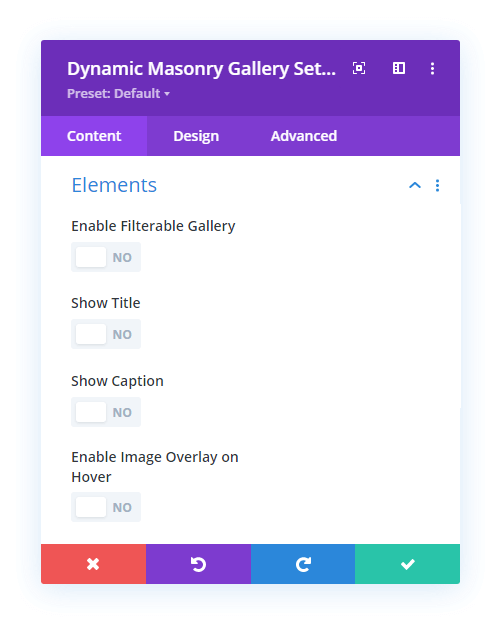
Now after customizing configuration settings, we can apply Elements to our masonry gallery in Divi. The following options are available in the Elements settings of the Content tab.
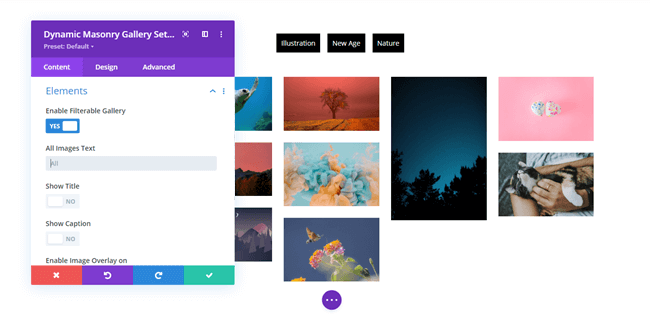
If you choose to enable the category filter on your Divi photo gallery by setting Enable Filterable Gallery option to YES. Then, this is how it appears at the top of the gallery.
When you enable Show Title, it further provides you with more option that is Show Title in. This enables you to display the image title in the Lightbox, Gallery and Both.
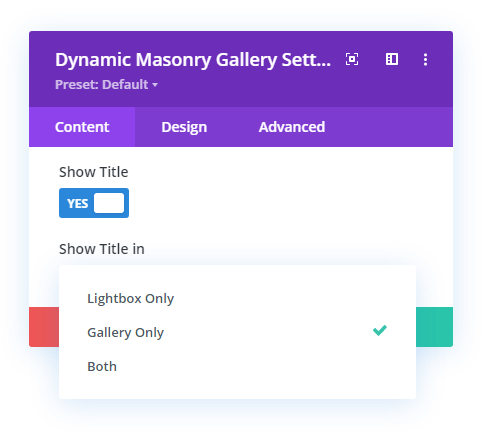
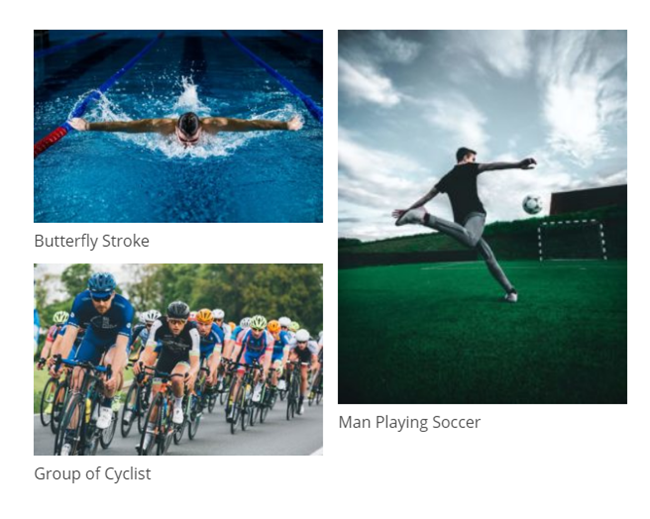
If you select Gallery Only or Both, this is how the image title is displayed in the gallery view.
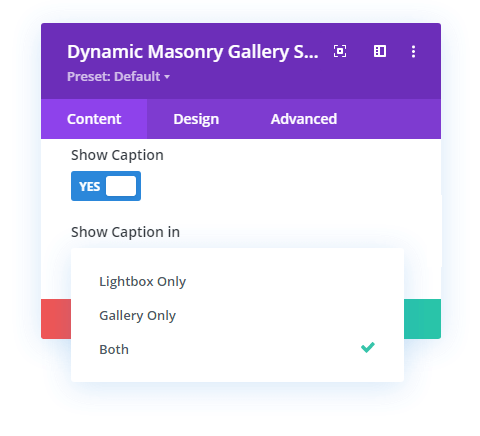
The next option available in the Elements settings is to enable image caption. Similarly to the title, you can enable image caption by clicking Show Caption, and it provides you with more options: Show Caption in – Lightbox Only, Gallery Only, and Both.
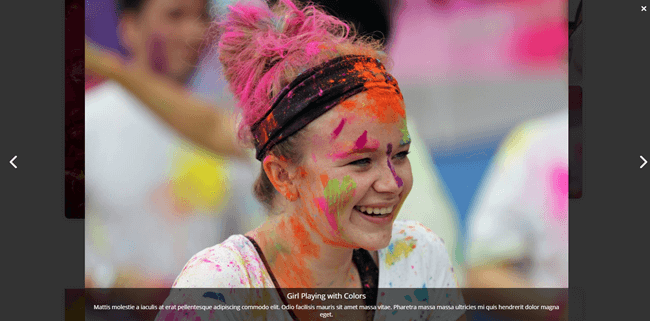
If you’ve selected Lightbox Only option for both Title and Caption, then this is how the title and caption are displayed in the Lightbox.
After the image Title and Caption, the next option you get in Elements settings is the hover overlay. You can apply a hover icon by clicking Enable Image Overlay on Hover. And it provides you with the options to select a particular icon.
When you hover on a masonry gallery image in Divi, this is how the overlay icon would display.
Lightbox Customizations
If you’ve enabled Lightbox in the OnClick Trigger option of the Configuration settings, then the Content tab would also provide you with Lightbox settings. And the following options are available in it.
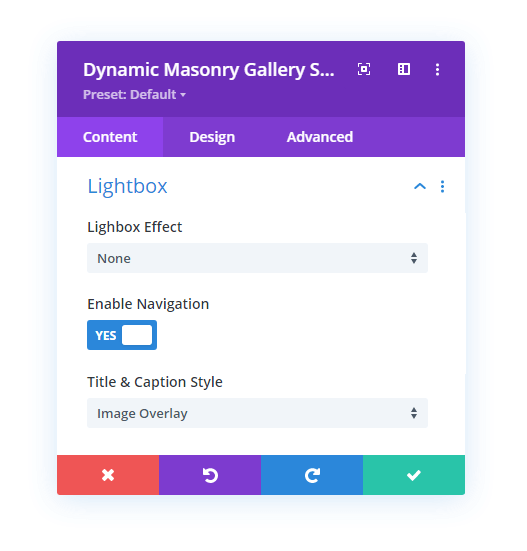
Now, the Lightbox Effect option includes two different image opening effects — Zoom and Fade. When you select Zoom and clicks on an image, it will open, enlarging itself on the page, just like the below illustration.
Plus, using the Transition Duration option, you could control the effect speed. The following illustration depicts the Fade effect with a higher transition duration. The higher the duration, the more time an image would take to appear. And if you set transition duration low, then the image would appear faster.
After the lightbox effect, next comes up the Navigation. By default, it’s enabled, but you can turn it off by setting Enable Navigation to No. Doing so would remove navigation sliders from the lightbox, as you can see in the below image. It doesn’t include sliders the same as the above illustration.

Another option you get for Divi masonry gallery images is selecting where you want to display the title and caption in the lightbox. There are two options available, Image Overlay and Below Image.
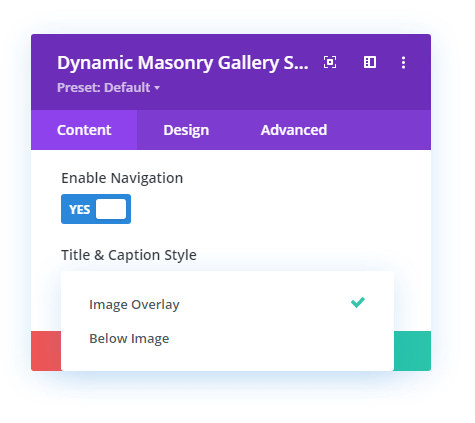
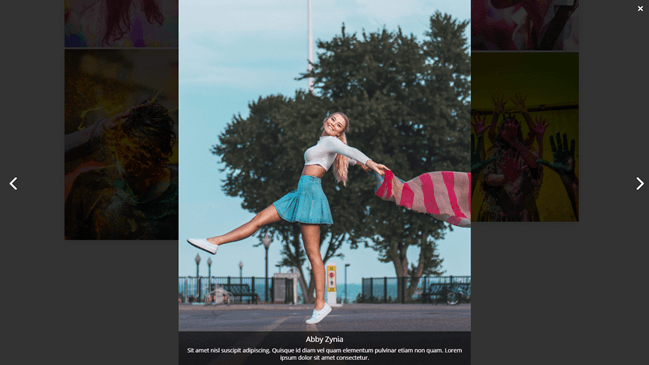
When you select Image Overlay, then this is how the title and caption appear in the masonry photo gallery lightbox.
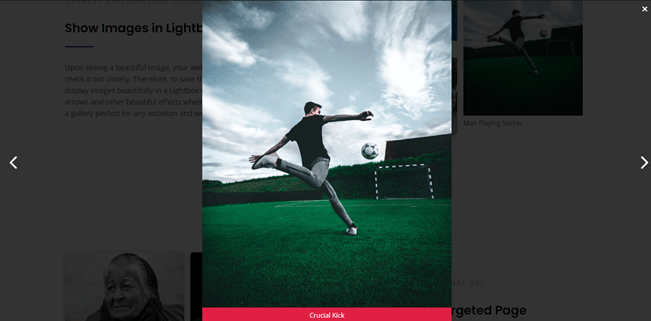
And when you select the Below Image, then this how the title and caption appear.
So these were lightbox options, now let’s see what tweaks we can apply in the Pagination settings.
Optimizing Pagination for Divi Masonry Image Gallery
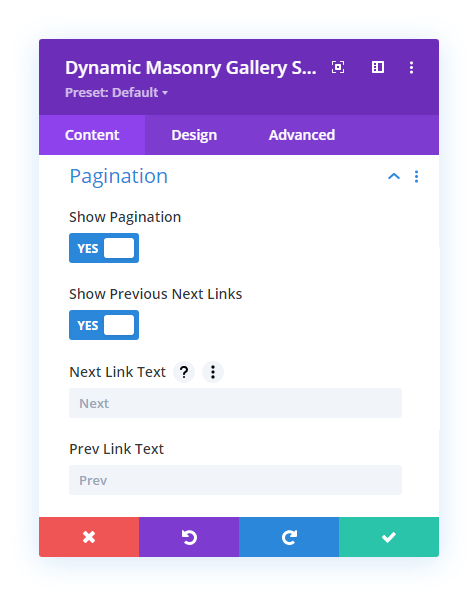
The Pagination settings available in the Content tab allows you do enable numbered pagination on your masonry gallery. Furthermore, once it’s enabled it allows you to display Previous and Next links. To do that, all you have to do is check Show Pagination as YES. And further, click Show Previous Next Links to display pre and next links.
Once you do that, it provides you with input fields to change the default title of the previous and next links.
By enabling pagination on the masonry gallery, you can save page space. And if the gallery is including lots of pictures, then it’s the best approach to keep the image gallery engaging. The gallery enabled with pagination work the same as the below illustration.
With this, we’ve completely explored and applied customization in the Content tab of the Divi Gallery Extended plugin. Now, it’s time to apply some design customization to enhance the look and feel of the masonry gallery.
Step 5: Design Customizations in the Divi Gallery Extended Plugin
The first setting available in the Design tab of the Dynamic Masonry Gallery module is Text. It consists of all the text customization options and allows you to apply them to images’ title and caption.
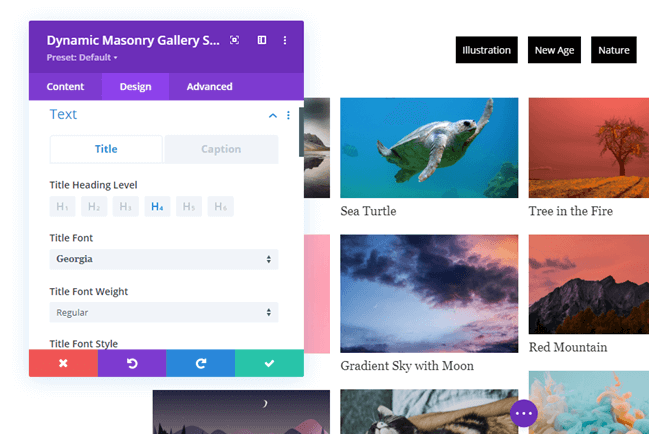
Whether you’re showcasing title and caption on the gallery or lightbox, the text effect will reflect at both the location.
Category Filter Design Customization
The category filter looks great as soon as you enable it on the Gallery. Though, you can enhance its look and feel using the Category settings. It allows you to customize Active and Non-Active category background with color, gradient and image.
Plus, it provides you with text customization options that you can use to tweak category text’s style.
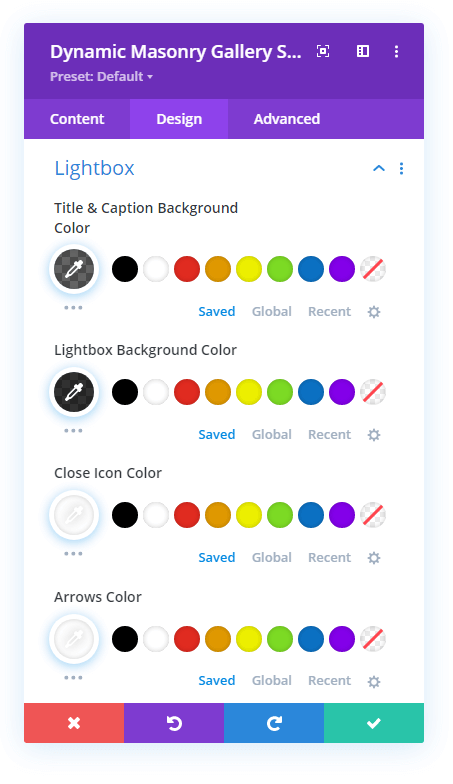
Lightbox Design Customization
With Lightbox settings available in the Design tab, you can apply background color to the Title and Caption of the image. Can also customize the background color of the lightbox, and color of the Close Icon and Arrow.
Overlay Design Customization
Using the Overlay settings, you can change the size of the icon. In addition to this, you can also apply color to icon and customize the overlay background color.
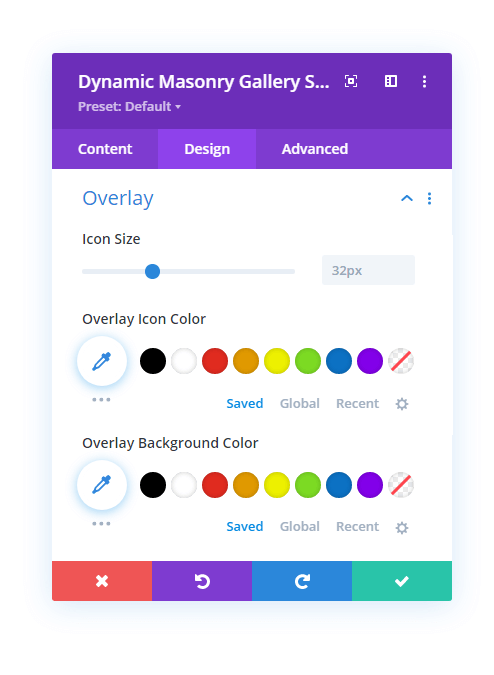
This is how an overlay icon and background looks like after overlay design customization.
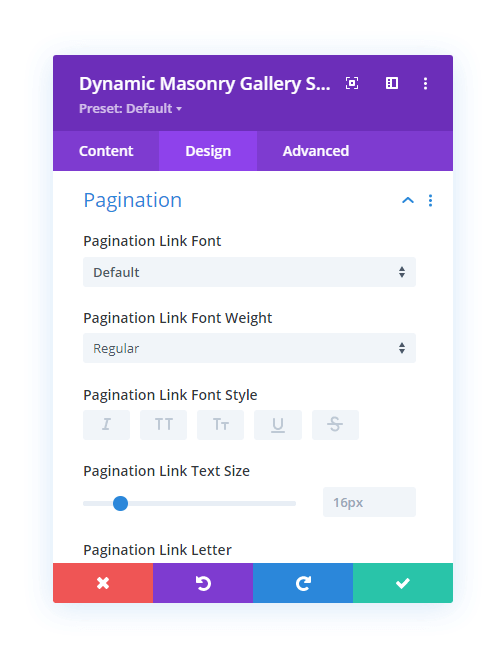
Pagination Design Customization
With Pagination settings in the Design tab, you could customize the text style of the Previous and Next links, like font type, size, style, weight, line height and letter spacing.
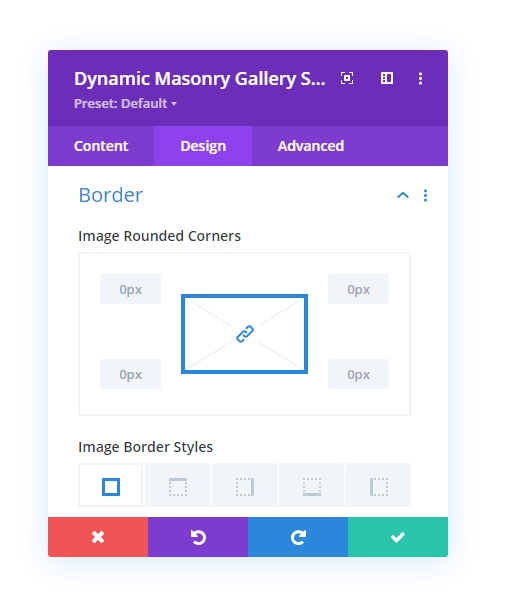
Additional Design Customizations
Other than the above-mentioned design customizations options, you could also try other settings available in the Design tab. For example, if you want to apply rounded corners to the gallery images, you can use the Border settings.
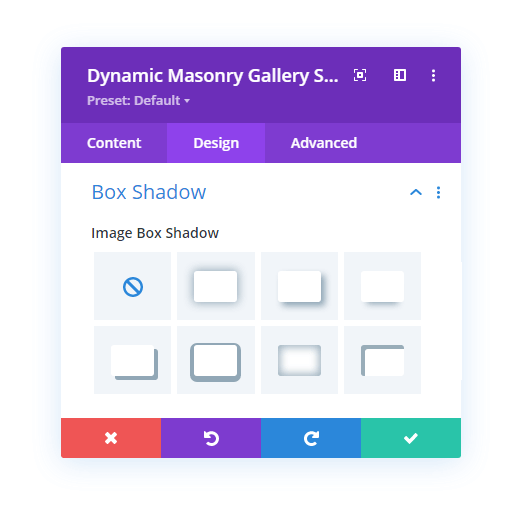
You could also try the Box Shadow settings to apply box-shadow to the masonry gallery images.
You could experiment with other Divi’s native options with Divi Gallery Extended and make Divi masonry galleries even more attractive and engaging. It all depends on your creativity and design skills. Therefore, going with this masonry gallery plugin for Divi is the most suitable option available. Plus, this plugin receives regular updates. So, you could more features and improvements. Though there are plenty already but technology gets moving. Therefore, it’s a good choice to select something that provides regular updates.
We want to know your views? Have you already tried the Divi Gallery Extended plugin? Then what was your experience? Let us know in the comments.


Is it possible to animate the images?